The standard course import CSV can be used to:
- Create new courses
- Update course information
- Delete courses
Generate a Course Import CSV

Using any standard spreadsheet editing software, you're going to create a CSV with 16 columns that correspond to the fields necessary for uploading courses in batches.Here's a templateto get you started.
Description of fields/columns
The course creation CSV is similar to the standard user creation/update CSV in that it uses the “1” is “yes” “0” is "no" logic for some of the fields. Below are descriptions of each field according to its corresponding column in any application that allows you to edit spreadsheets:
A. SyncID - Arguably the most important field, this number should be completely unique for each section, semester, and year so that enrollment using the registration CSV runs smoothly.
B. Course Type - Always should be “COURSE"
C. Title - Title of the course.
D. Course Number - Number of the course from your institution’s registration data.
E. Description - Can be left blank.
F. Active - Must be “1” meaning the course is active.
G. Start Date - Course Start Date
H. End Date - Course End Date
I. Gradebook - “1” enables grade book for the course “0” disables the feature.
J. Attendance - “1” enables the attendance feature for the course “0” disables the feature.
K. Update - If the course is already created “1” updates whatever information has been changed using the course SyncID.
L. Delete - Use “0” when creating a course. “1” deletes an already created course.
M. Discussion - “1” enables the Discussions tab for the course “0” disables the feature.
N. e-Portfolios - “1” enables the e-Portfolios tab for the course “0” disables the feature.
O. Assignments - “1” enables the Assignments tab for the course “0” disables the feature.
P. Standards - “1” enables the Standards tab for the course “0” disables the feature.
Q. Section Number - Section number from your institution’s registration data.
R. Department Code - Can be left blank.
Preparing the CSV for Export

Once all of the relevant data has been put into the file in the correct format, be sure to remove any of the guides that were being used so that the first cell (A1) has [course] in it, immediately followed by the data being uploaded as shown in the image above.
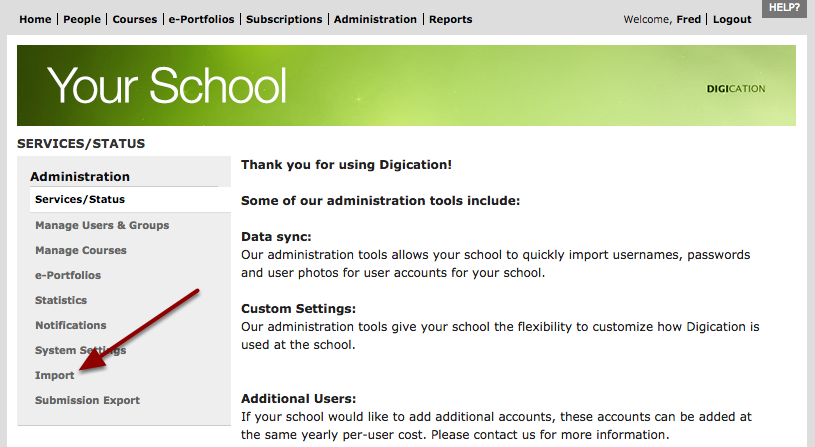
Go to the Administration tab

Once your CSV is correctly formatted and ready to go, you'll want to head over to the "Administration" tab to upload it.
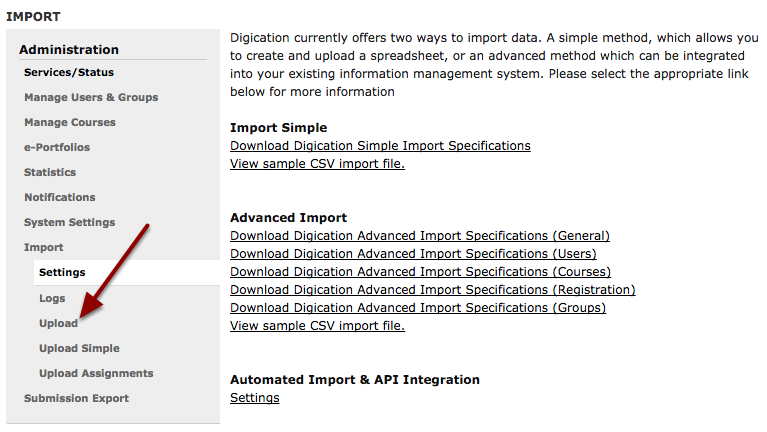
Click on Import
Select "Upload"
Check off "Debug" before selecting and uploading your CSV

The "Logs" Page
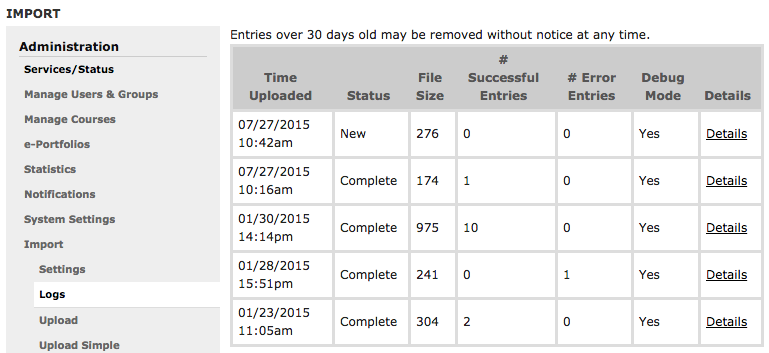
After a standard CSV, you'll be brought to the "Logs" page where you'll be able to see how many imports have been attempted and how many entries within those imports have been successful.
Refresh to view your results
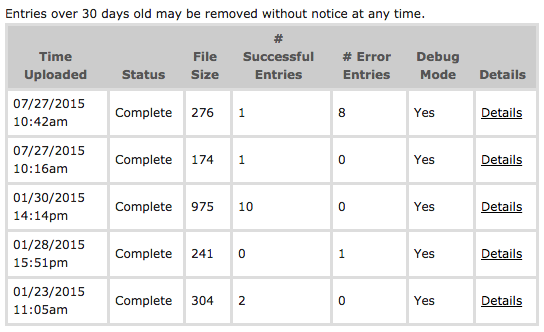
After refreshing, you'll be able to view the results of your import once it's complete and then adjust or re-upload accordingly. Keep in mind that for large data imports, you'll have to wait a few moments before this information becomes available.
Comments
Please sign in to leave a comment.